
maker
How InVideo AI Helps Makers Turn Projects Into Clear Tutorial Videos
maker — learn how InVideo AI turns your Arduino, Raspberry Pi, and 3D printing projects into clear tutorial clips. Add captions, voiceovers, and ready templates, film time‑lapses, highlight layer and finish details, and edit soldering and circuit builds fast for social. Make reels that sell, training clips for your makerspace, and exports ready for YouTube, Instagram, and TikTok. This guide gives step‑by‑step tips, shortcuts, and promo ideas to speed your DIY video workflow and help other makers follow along.
If you want to try it out for yourself and see how the platform works in practice, you can start your first project for free through this special link I used to test it . That’s how I began exploring all its features without any hassle.

Key takeaways
- Use clear keywords in titles and headings (include maker).
- Write short, useful sections that answer viewer questions.
- Make pages and videos load fast and work well on phones.
- Add helpful links and earn backlinks.
- Test and update content regularly.
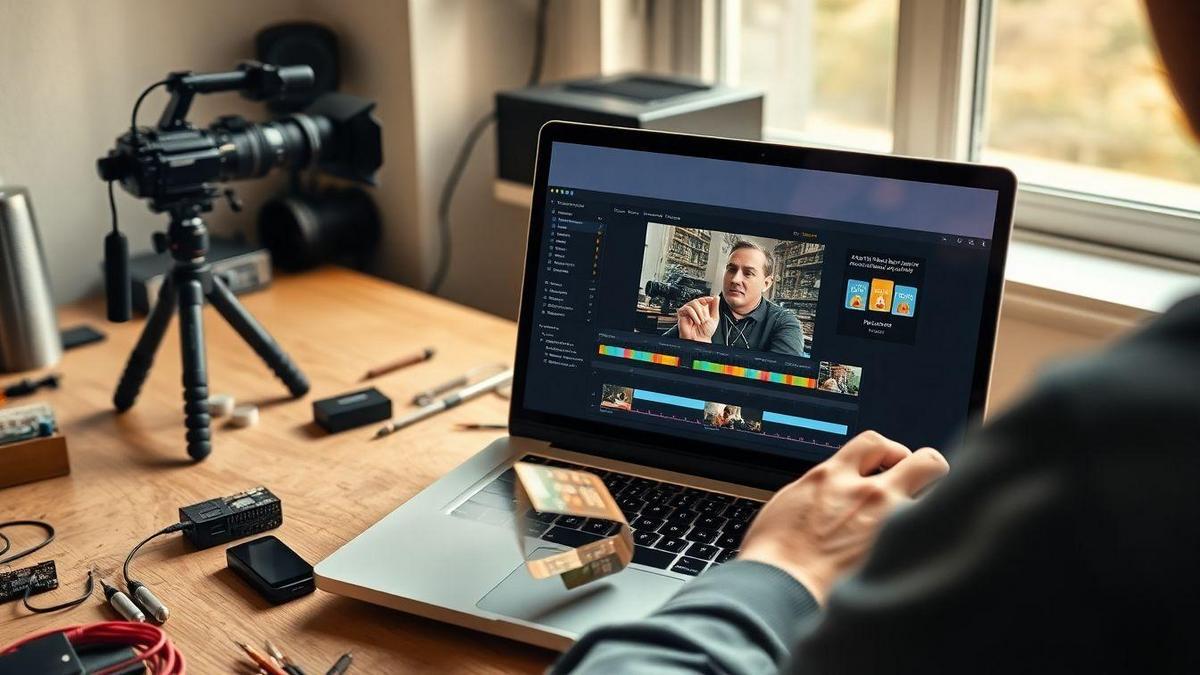
How to use InVideo AI to make tutorial videos for your maker projects
You want your maker projects to look clean and clear on video. InVideo AI converts raw footage and code screenshots into step‑by‑step tutorials fast. Follow these hands‑on steps.
Turn Arduino projects into clear step‑by‑step clips
- Record short clips: film each step—wiring, breadboard close‑ups, soldering, and the final test. Keep clips 5–15 seconds.
- Upload media: add clips, wiring photos, and code screenshots.
- Auto‑generate scenes: let the AI split footage and suggest titles and step numbers.
- Polish scenes: add short titles (Step 1, Step 2), highlight pins or wires with overlays, and drop in B‑roll.
- Tighten pacing: trim dead air; keep transitions crisp.
- Export multiple formats: full tutorial and short social cutdowns.
Tip: always show a close‑up of wiring and the running output—viewers trust visible results.
Add captions and voiceovers so viewers can follow
- Use auto‑captions, then correct obvious transcription errors.
- Edit captions for clarity: shorten lines, add timestamps for complex steps, bold terms like LED, GND, 5V.
- Pick an AI voice or record your own; match the pace to the visuals.
- Sync voice and captions precisely with wiring or code screens.
- Add a short CTA at the end: Try this on your bench or Comment your question.
Captions boost accessibility and watch time—many viewers watch with sound off, especially on mobile.
Use templates for Raspberry Pi projects
- Choose a Tutorial, Quick Guide, or Project Walkthrough template.
- Replace placeholders with Pi boots, terminal screenshots, and diagrams.
- Highlight commands as text overlays and bold flags or paths.
- Show the running application or hardware interface.
- Export 16:9 for full tutorials and 9:16 for social clips.
Template guide:
| Template Type | Best Length | Ideal Use |
|---|---|---|
| Tutorial | 5–12 minutes | Full walkthroughs with code and wiring |
| Quick Guide | 1–3 minutes | One feature or quick demo (e.g., set up Wi‑Fi) |
| Social Clip | 15–60 seconds | Teasers, highlights, or bug fixes |
Callout: Use clear thumbnails with a bold title and a photo of your board—thumbnails drive clicks.

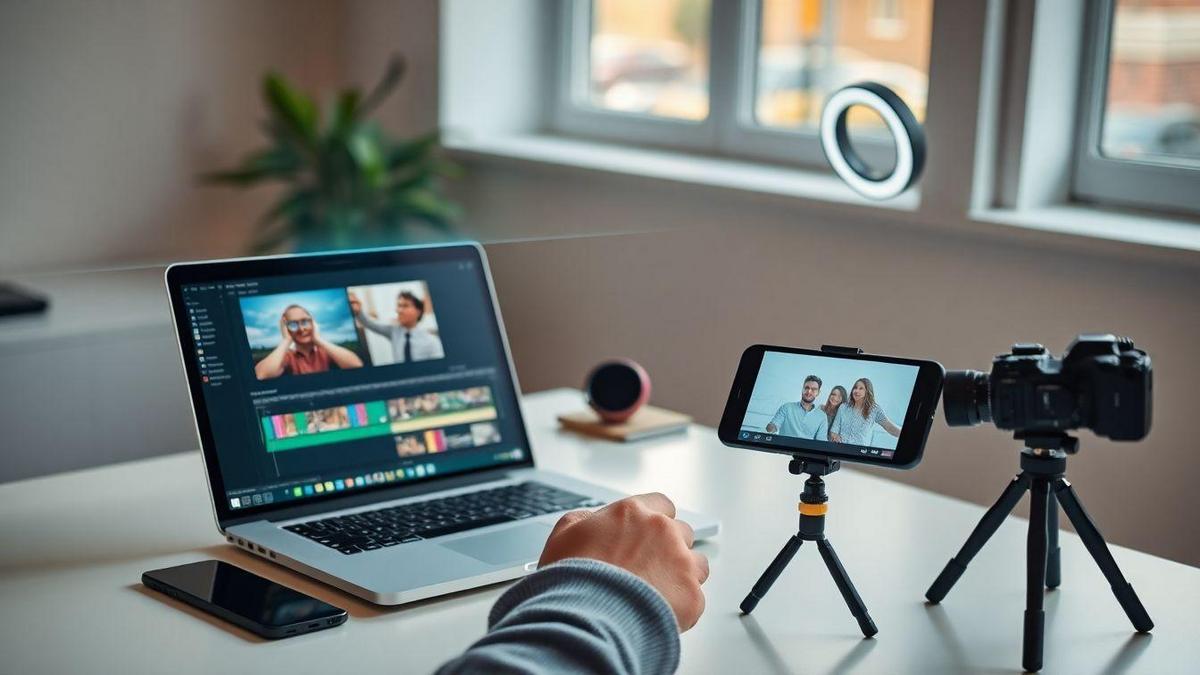
Promote your makerspace work with short videos
Short videos grab attention. With InVideo AI you can turn clips into polished shorts in minutes. Use tight edits, bold captions, and upbeat music.
- Pick a strong clip: a cool print, a clean cut, or a finished piece.
- Use a template that fits your vibe — techy, crafty, or professional.
- Hook viewers in the first 3 seconds with a visual and a bold line.
- Auto‑generate captions and a quick voiceover for accessibility.
- Export multiple sizes for reels, stories, and web pages.
- Post, track, and reuse clips as promos or thumbnails.
Pro tip: save 10–15 second cutdowns for social. Short equals shareable.
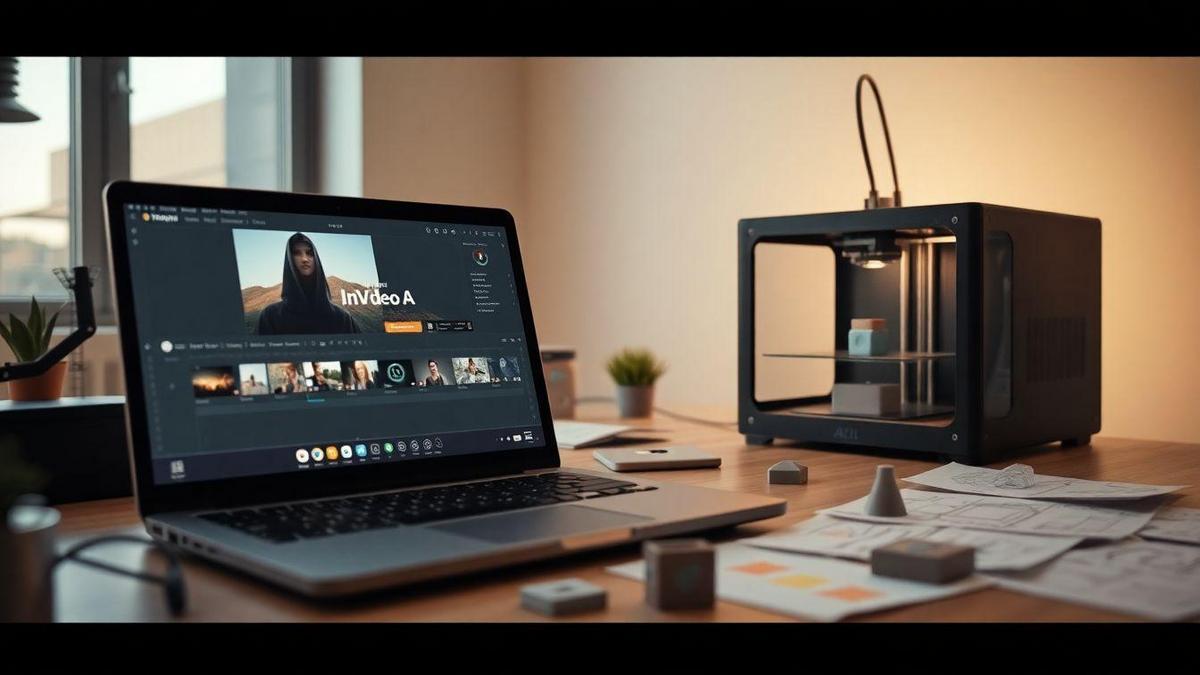
Film 3D printing demos that show layer and finish details
Close‑ups win here. Make viewers feel they can almost touch the print.
- Start with a wide shot for context.
- Switch to macro shots for layer lines and nozzle action.
- Use time‑lapse for the full print, then slow down key moments.
- Record before‑and‑after finishing: raw → sanded → painted.
- Add captions naming settings (nozzle temp, layer height).
- Keep clips 5–20 seconds for quick edits.
Shot suggestions:
| Shot type | Suggested length | Purpose |
|---|---|---|
| Wide setup | 5–8s | Context and scale |
| Close‑up layer view | 6–12s | Show print quality and texture |
| Time‑lapse | 8–15s | Show progress without boredom |
| Finishing sequence | 6–12s | Demonstrate post‑processing impact |
Bold details like layer height and filament type—other makers want that info.
Highlight tools and safety in quick clips
Short tool clips build trust and teach newbies.
- Feature one tool per clip: laser cutter, CNC, press, or soldering station.
- Show proper PPE: goggles, gloves, masks.
- Add a caption with the tool name and one safety tip.
- Demonstrate a do and don’t in 6–10 seconds.
- End with a reminder to check lab rules and consult supervisors.
Callout: a 5‑second PPE clip can prevent accidents and save your space headaches.
Create reels that boost craft entrepreneurship
You’re selling a story as well as a product. Reels let you show process, personality, and price in one swipeable package.
- Hook in 1–3 seconds: flashy cut, smile, or product reveal.
- Show the making process in 3–5 quick clips.
- Display ordering info or price in text at the end.
- Use trending music or a custom sound.
- Add a clear CTA: DM to order or Link in bio.
- Repurpose the same reel across platforms with small edits.
Tip: include customer reactions or packaging shots to build trust—people buy from people they like.
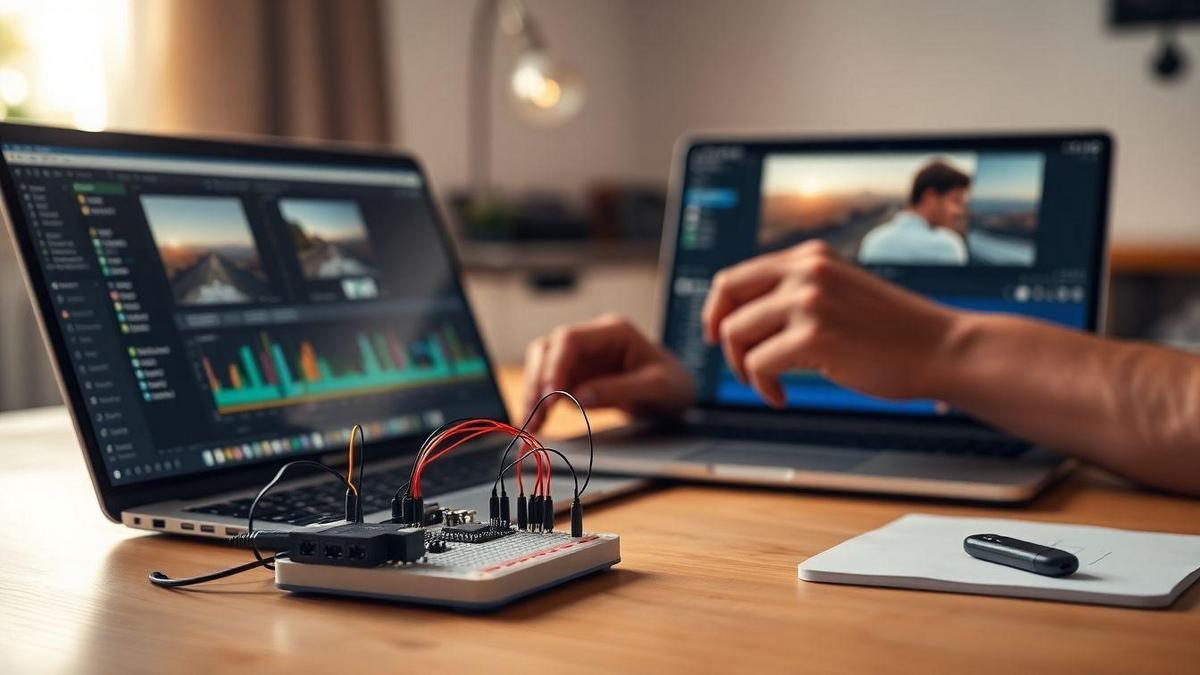
Speed up DIY electronics content creation
InVideo AI shortens editing time by chopping raw clips, adding captions, and suggesting visuals.
- Upload footage and let AI detect action points.
- Choose a template: tutorial, time‑lapse, or teardown.
- Apply auto‑captions and quick transitions.
- Export optimized files for each social site in one go.
Tip: record a short intro and one clear close‑up. The AI creates cleaner cuts with clear shots.
Edit soldering and circuit builds for social
Turn long solder sessions into punchy 30–60 second clips.
- Mark main action start and end, or let AI pick highlights.
- Use auto‑zoom on close‑ups so viewers see solder joints clearly.
- Add step labels and overlays like Heat, solder, cool.
- Drop in upbeat music and rhythmic cuts.
Tip: use a steady overhead shot and one close macro—AI will do the rest.
Explain open hardware concepts with simple visuals
Convert voice notes and slides into animated visuals. Simple diagrams and callouts make tricky ideas click.
- Break concepts into 3–5 short points.
- Let AI generate icons and arrows to show current flow or connections.
- Add short captions so viewers can follow without sound.
- Show a quick breadboard test to tie theory to practice.
Tip: call yourself a maker in the video—viewers connect to hands‑on stories.
Export formats ready for YouTube, Instagram, and TikTok
Use the right format to avoid platform quirks.
| Platform | Orientation | Max Length | Recommended Resolution | File Type |
|---|---|---|---|---|
| YouTube | Landscape (16:9) | Hours | 1920×1080 (1080p) | MP4 (H.264) |
| Instagram Feed / Reels | Square (1:1) / Vertical (9:16) | Feed: 60s / Reels: 90s | 1080×1350 (feed) / 1080×1920 (reels) | MP4 |
| TikTok | Vertical (9:16) | 15s–10min | 1080×1920 | MP4 |
- Choose orientation based on platform.
- Use 1080p MP4 when in doubt.
- Enable auto‑captions for silent autoplay.
- Export multiple sizes in one batch to save time.
Tip: export a 15‑second test clip first—if it looks good, export the full version.
If you want to try it out for yourself and see how the platform works in practice, you can start your first project for free through this special link I used to test it . That’s how I began exploring all its features without any hassle.
Document prototyping steps and progress
Turn build logs into engaging videos showing progress, mistakes, fixes, and final wins.
Make time‑lapses of 3D printing and CNC runs
- Mount the camera stable and frame the bed or toolpath.
- Choose an interval that matches job length (table below).
- Lock exposure and white balance to avoid flicker.
- Import clips to InVideo AI and use a time‑lapse template or speed ramp.
- Add music, captions, and an intro card showing the print.
Capture interval guide:
| Print/Cut Duration | Capture Interval | Final Video Length | Best Use |
|---|---|---|---|
| 1 hour | 5–10s | 8–20s | Quick demos |
| 4 hours | 10–30s | 10–30s | Standard prints |
| 12 hours | 30–60s | 10–30s | Large prints / CNC jobs |
Tip: for overnight runs, use battery power or a power bank for the camera.
Narrate design iterations
- Script short segments covering goals, problems, and fixes (15–30s each).
- Record voiceover in a quiet room or use InVideo AI voice tools.
- Match narration to clips: show slicer settings when discussing infill, show tool changes for failures.
- Add captions and callouts like changed nozzle or added supports.
- End each episode with one clear lesson or next step.
Use short sentences and repeat key terms like print speed or layer height once for emphasis.
Store and share footage for the maker movement
- Create folders: ProjectName/raw, ProjectName/edit, ProjectName/assets.
- Rename files with timestamps and labels (e.g., 2025-09-15-print-start.mp4).
- Export masters in H.264/H.265 and web copies (720p).
- Tag files with keywords: printer model, material, printer settings, maker.
- Share builds on community platforms with a short build log.
Callout: share failures as well as wins—the maker community learns fast from fixes.
Turn maker demos into sales and promo assets
Flip demo clips into clickable videos that drive traffic and purchases.
Build product showcase videos
- Script a tight opener that states the problem in 3 seconds.
- Capture close‑ups, hands‑on clips, and a lifestyle shot. Prepare vertical and square formats.
- Use templates to match brand colors and fonts.
- Add voiceover or captions for silent autoplay.
- Close with a strong CTA: Buy now or Shop my shop.
Callout: bold the first caption line—the hook gets scrollers to stop.
Add overlays for pricing, specs, and buy links
Overlays turn curiosity into action.
| Overlay type | Purpose | Example |
|---|---|---|
| Price badge | Show cost quickly | $29 in the corner |
| Spec strip | Highlight key feature | “Handmade leather — 100% veg‑tan” |
| Buy button | Direct link to checkout | “Tap to order” with URL or QR |
- Keep overlays to one line for price and one for specs.
- Place overlays where they don’t cover faces—bottom corners work well.
- Use consistent colors and fonts for brand recognition.
- Link directly to product pages or use trackable short links.
- Test QR codes for in‑person promos.
Callout: show original price faintly crossed out beside sale price to lift clicks.
Use performance data to refine your maker marketing
- Compare openers and keep the higher‑retention version.
- If viewers drop at a specific second, tighten that scene.
- Test overlay color and wording: Buy vs Order vs Get yours.
- Reuse top clips with small tweaks across platforms.
- Track sales by video link to measure ROI.
Small changes = big wins. A new thumbnail or one‑word CTA often moves the needle.
Collaborate across your makerspace or lab
InVideo AI helps stitch footage, add captions, and make polished clips without a film crew. Share tests, finished builds, or quick how‑tos to keep your maker community synced.
Combine clips from Arduino and Raspberry Pi builds
- Capture 5–20 second clips of wiring, code runs, and demos.
- Upload and tag clips by project or component.
- Use AI to trim, match beats, and add captions.
- Overlay part numbers, code snippets, or safety notes.
- Export a full demo, a 60‑second social cut, and a timestamped clip list.
Clip types:
| Clip type | Best length | Use case |
|---|---|---|
| Wiring close‑up | 5–10s | Show soldering or jumper placement |
| Screen/code demo | 10–30s | Highlight a loop or key output |
| Final demo | 15–30s | Show the gadget working |
| Quick tip | 5–15s | One trick or safety point |
Tip: ask each maker to record a 10–15 second intro: name, project part, and one takeaway—AI will assemble a smooth opening.
Make short training videos for tools
- List the skill (e.g., bed leveling).
- Record step‑by‑step shots focusing on hands and the tool.
- Add voiceover or captions and safety callouts.
- Export a printable checklist alongside the video.
Quick win: make a 60‑second Do this / Don’t do that clip for each tool—members watch and remember faster.
Archive tutorials to grow your learning library
- Tag by tool, skill level, and date.
- Save multiple formats: full lesson, short refresher, GIF snippets.
- Add timestamps and one‑line summaries.
- Rotate top clips into a welcome playlist for new members.
- Back up the archive in at least two places.
Best practice: keep one stable version of each tutorial and update only when processes or safety rules change.

If you want to try it out for yourself and see how the platform works in practice, you can start your first project for free through this special link I used to test it . That’s how I began exploring all its features without any hassle.
Conclusion
You’ve got a toolbox now. Use InVideo AI to turn raw footage from Arduino, Raspberry Pi, and 3D printing builds into clear, shareable lessons. Film short clips, add crisp captions and voiceovers, drop in ready templates, and export the right formats for YouTube, Instagram, and TikTok. Short edits, tight hooks, and consistency win.
Make safety and clarity non‑negotiable: show PPE, close‑ups of wire and layer details, and name key settings like nozzle temp and layer height. Save footage with clear filenames and folders so you can reuse and repurpose without starting from scratch.
Treat each video as a tiny sales pitch and a teaching moment. Lead with a strong visual, add a one‑line CTA, and test small changes—new thumbnail, new opener, different overlay—to see what sticks. The AI trims the boring parts; you give it the story, craft, and maker spirit.
Ready to make your projects pop and your makerspace hum? Dive into more tips and walkthroughs at https://blog.marktingdigitalmkt.com.